
Whether it’s a birthday or any day, this rich, flavorful chocolate cake is the one to put on your table!

THE INGREDIENTS:
Cake Flour: While you can use all purpose flour in this cake recipe, we recommend cake flour. Why is this, you ask? Well, cake flour has less protein than all purpose flour, meaning that there is less gluten, as well. Gluten contributes to wonderfully chewy bread, so to get a delicate cake texture we want to minimize it. To be honest, we don’t buy cake flour either. Instead, we take 2 tablespoons of flour out of the cup of all purpose flour and replace it with cornstarch!
White Sugar: What’s a cake without any sweetness at all? We’d argue that it’s a kind of bread, but not a kind that we’d want to try! We use white sugar as opposed to brown sugar for two reasons: flavor and texture.
Brown sugar has a distinctive, molasses-esque flavor that pairs wonderfully with spice cakes, but detracts from the chocolatey goodness of a chocolate cake. White sugar, on the other hand, is a neutral sweetness. It’s neutral in the same way that butter is a flavorful fat, whereas vegetable oil is a neutral one.
Cakes made with brown sugar tend to be more moist than cakes made with white sugar. While there is nothing wrong with a moist cake, we wanted our cake to not be overwhelmingly wet. When there is too much moisture in a cake, it can become crumbly and is especially hard to frost and decorate. We don’t want any birthday disasters! Thanks to how we’ve carefully selected our ingredients, sugar type included, this cake decorates well and tastes great!
Salt: A little bit of salt helps us to appreciate the sweetness in this cake even more! If you leave it out, there’s a chance you might feel as if there is just a little something “missing”.
Baking Soda: Baking soda is our leavener that allows this cake to be tall and not dense. We don’t recommend increasing the amount of baking soda in this recipe. Too much baking soda can lead to the cake sinking after it is done baking. If you’re thinking of reducing the amount, the cake will be shorter and more dense-not the ideal look or texture for a chocolate cake. Always make sure that you are adding baking soda, not baking powder, to this recipe. Although these two ingredients sound similar, they are actually quite different. Baking powder tends to be weaker than baking soda, and our baking soda interacts with our acidic ingredient to give this cake rise.
Buttermilk Powder: Buttermilk powder? Yes, you read that right! As the way of leavening for our cake is baking soda, we need an acid to help get the leavening going. Buttermilk, also referred to as sour milk, is acidic and can help this cake achieve a tall rise. However, we’re all about less waste at this blog! When you buy fresh buttermilk, you can often find that a lot or some of it goes to waste. By purchasing buttermilk powder, you can add buttermilk to your pancake batter, ranch dressing, fried chicken, or sweets as infrequently as you want-powder lasts for months whereas fresh buttermilk finds its way out of the fridge and into the garbage after roughly a week.
Don’t have buttermilk powder OR buttermilk? We have one more emergency option on hand just for you. Replace the water and buttermilk powder with the following: ¾ cup milk (we use 2%, any kind works), 1 ½ tsp white vinegar, and add an additional ¼ cup of flour.
However, if you do have fresh buttermilk on hand, this cake is adjustable! What you will need to do is replace the buttermilk powder and the water with a total of ¾ cup of buttermilk. To make up for the missed dry ingredients, add another 1/4 cup of flour.
Cocoa Powder: Traditionally, cocoa powder is the only way of adding chocolate flavor to a cake. This means it makes it hard to stand up to extra-chocolatey desserts, such as brownies, that frequently have both cocoa powder and melted chocolate! However, by adding an extra-generous amount of cocoa powder, as well as blooming it in our butter, we’d like to call it mission accomplished!
Whether you use regular cocoa powder, dark cocoa powder, or any other variety, this cake will be a success. It is all about what you prefer. However, as we already add enough sugar to this cake, please stick to unsweetened cocoa powder. If you want a less intense chocolate flavor, feel free to reduce the cocoa powder by a couple tablespoons and you will still find yourself with a wonderful cake. We cannot recommend increasing the cocoa powder even further. There is something to be said about too much of a good thing! However, no one is stopping you if you really really want to.
Butter: Aside from an actual butter cake, most cake recipes you’ll find are entirely oil-based. Earlier we talked about neutral flavors, pointing out how white sugar is more of a neutral sweetener just like vegetable oil is a neutral fat, where butter and brown sugar are the “flavorful” versions. If we stuck to a neutral sweetener to help the chocolate flavor stand out more, why would we then use some of a flavorful fat?
Two reasons: actually intensifying the chocolate flavor through blooming and to ensure our desired texture. Although you can also use oil to bloom cocoa powder, blooming it in butter helps to make a more complex and rich chocolatey flavor than oil, which gives a simpler flavor. Entirely oil-based cakes are very moist, but almost to a fault. Their texture becomes very soft, but also very crumbly. They are impossible to decorate unless you are just adding a layer of frosting on top of a sheet cake. Butter makes the texture slightly firmer without making the cake dry or dense, either! It elevates a cake to a professional level-you might make people think you went to a bakery!
Vegetable Oil: If butter does so many wonderful things for our cake texture, why use oil at all? It’s because there is such a thing as too much of a good thing. Vegetable oil adds a lot of moisture to this cake, so replacing it with all butter would lead to a cake that starts to become too dry. Feel free to replace this oil with whatever neutral flavor you have on hand, or even melted coconut oil if you’re craving a chocolate-coconut cake.
Water: What’s more flavorless than water? Don’t try to answer that question, because the point we are trying to get at is water adds needed liquid to our cake without covering up the chocolate flavor, which milk or coffee could start to do. If you prefer that coffee flavor with your chocolate, feel free to replace the water 1:1 in this recipe with coffee. As we already have buttermilk powder and a good texture to our cake, we do not recommend replacing the water with milk unless you are also omitting the buttermilk powder. Go to the “buttermilk powder” section above for good substitute ideas that include replacing the water with milk. We prefer a more liquid-y cake batter, as it gives us a fluffier, less dense cake from personal experience. Without the water, this batter would be way too thick to make the texture we want.
Eggs: Luckily, you can’t taste eggs in cake! Without them, though, this cake would be nowhere near as good. Weird, right? Eggs help to bring our dry and wet ingredients together, as well as ensure our fats and water mix into a cohesive blend. Eggs are not something you want to change in this recipe!
KEY INFORMATION:
What is Blooming? First, you melt the butter in a saucepan. You only have to melt the butter, so don’t worry about making any brown butter for this recipe! Next, you add the cocoa and stir until completely incorporated. Our goal is to avoid any lumps of cocoa powder in the cake. When the cocoa interacts with this hot liquid, it strengthens the flavor of the cocoa powder-just what we want for this chocolate cake!
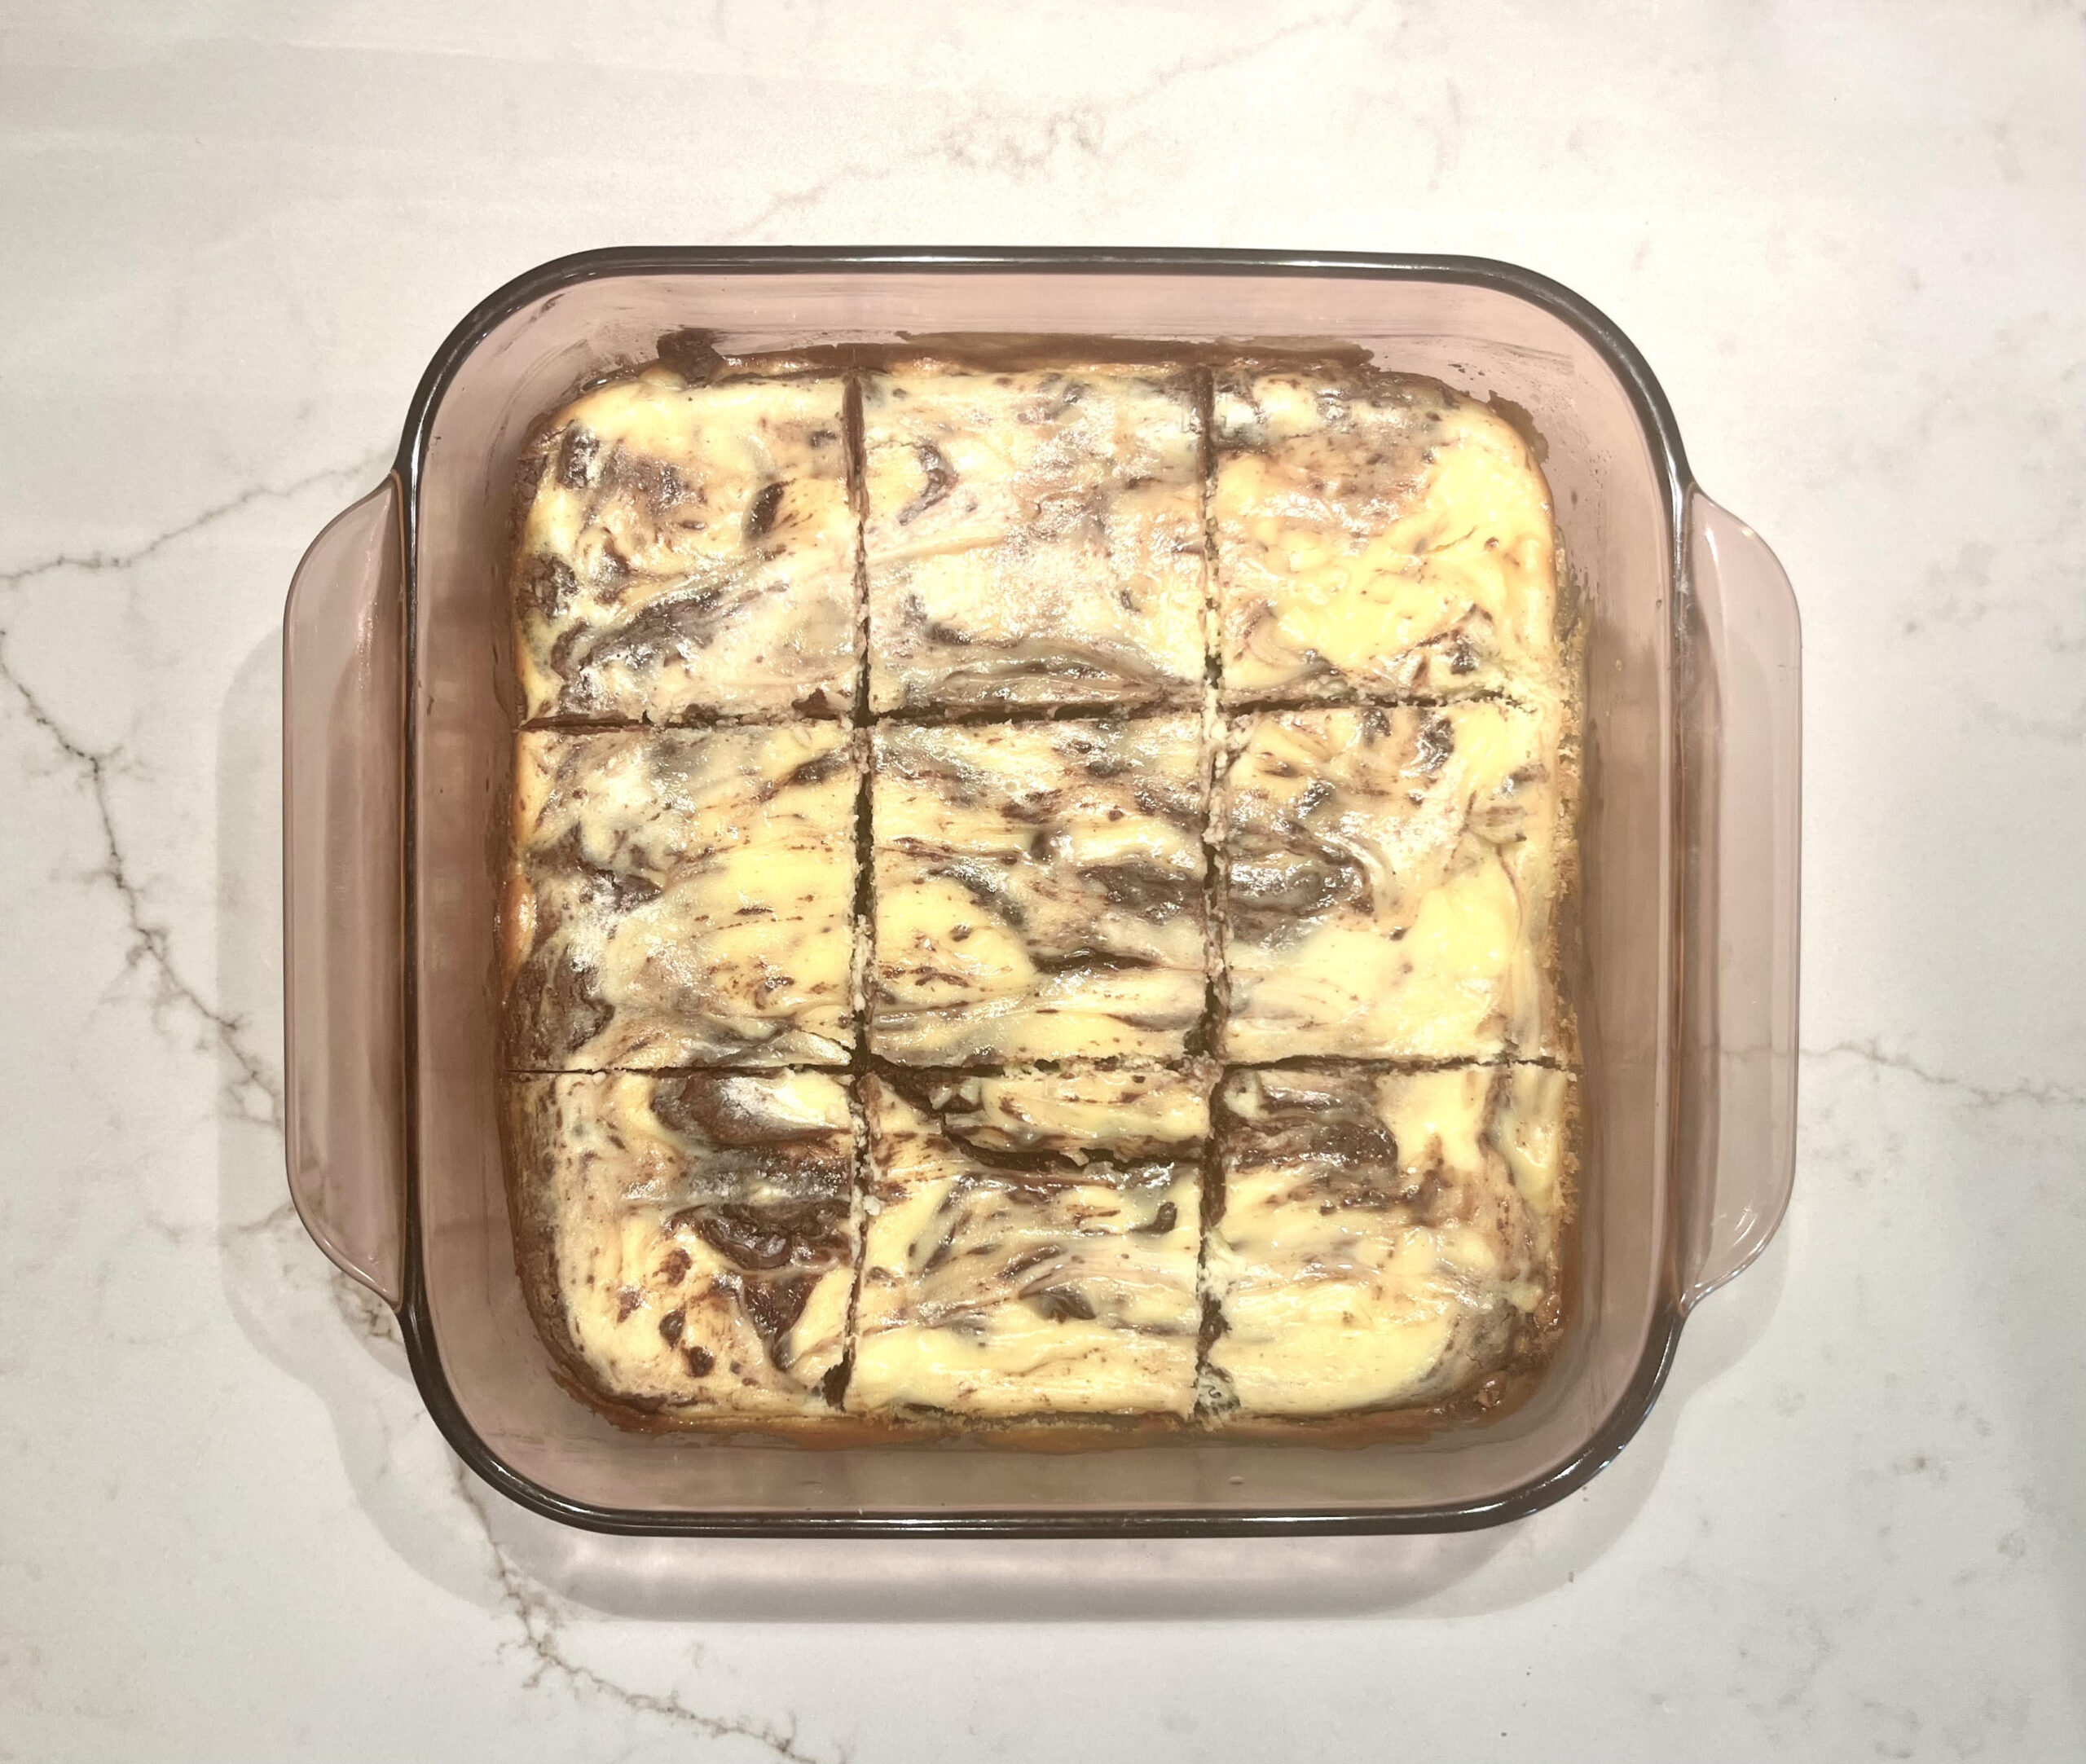
Do I Have to Use a Circular Cake Pan? No, you do not! We’re all about cooking with what you have here, even equipment-wise. To get the same results, use an 8×8 or a 9×9 cake pan-no baking time changes needed.
How Can I Frost this Cake? You can frost a chocolate cake with many different flavors of frostings and add many different toppings. Keep it simple and just frost the top of the cake as if it were a sheet cake. Go full birthday-style and frost both the tops and the sides. You can even swirl jam into the frosting for a colorful pop. You could keep it classy by dusting with powdered sugar and topping the cake with fresh fruit. No worries, it’s also an option to skip the frosting entirely and wolf it down plain (we would relate to that!).
Now, the big question, what kind of frosting? What toppings? We would recommend a chocolate frosting for double-chocolate overload, but are also fans of chocolate-peanut butter, peanut butter, vanilla, and coffee-flavored frosting. In terms of fruit, both strawberries and cherries pair wonderfully with chocolate. We make whipped cream a lot as a lighter, less sweet alternative to frosting. Whipped cream works best when you are just frosting the top of the cake. Otherwise, you may want to make a stabilized whipped cream frosting. Although powdered sugar is pure sugar, it still is less sweet of a topping than its frosting counterpart.
How Do You Frost a Cake? Ideally, you will place the cake onto a raised flat surface to get the best angle while frosting. Turntables are ideal to get that smooth finish on your cake, but a cake stand that you can rotate by hand also works. If you don’t have cake frosting tools, it is best to opt for a butterknife. An offset spatula and bench scraper, though, is the way to go if you have those tools.
If you want that bakery-style look to your cake, keep in mind you may have to 1.5x whatever frosting recipe you are using. You will use more frosting than you expect! Start by making a base layer around the sides of your cake: get a large glob of frosting and place it on your cake, spinning your turntable to seal in the crumbs all around. If you frost one side at a time, you’ll be picking up crumbs as you go, so it is best to always frost in a circular motion that wraps around the whole cake. Keep adding globs lightly to the cake, holding it with your tool, and rotating your surface until the sides are how you would like. Then, add a large glob of frosting to the middle of the top of your cake. Place your tool flat against this glob and rotate, spreading outwards.
What Goes Well with Chocolate Cake? Trying to plan a meal where chocolate is the perfect end? Want another sweet or two on the side of your party spread? Here’s what we recommend: tomato-based dishes are strong in flavor and leave your mouth coated even after eating it, so chocolate is the perfect after-dinner solution. In terms of sides, besides the classic ice cream, chocolate cake is well served with pudding or yogurt, whipped cream, and fresh fruit for a build-your-own parfait station!
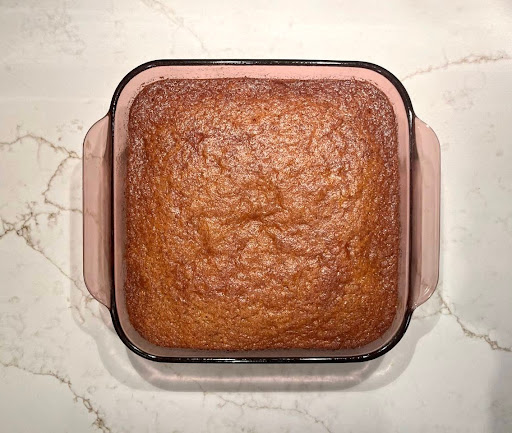
Why Bake a Cake at a Lower Temperature? Good things are often worth the wait! Baking this cake at 300 F instead of the classic 350 F gives a moister, softer texture. In addition to that, the top is flatter-perfect for decorating!
How to Avoid Clumps: We’ve all had it happen. We get so excited for cake we dump, mix, and throw it in the oven. Sadly, we get rewarded with a cake with bites of flour throughout-yuck! To avoid this, we make sure to do 2 key things.
The first is to actually use room temperature ingredients. Taking that extra time to warm the water a little and take the chill off of our eggs really makes a difference!
In addition to that, what is just as important is slowly adding the liquid ingredients. By adding about ⅓ of the liquid, mixing, and so on, the dry ingredients can get fully coated. If you add all the liquid at once, it is like making a swimming pool with a layer of loose dirt on the bottom. Some of the dirt will make mud, whereas other pieces will spring up and float around.

The Best Chocolate Cake
Ingredients
Method
- Preheat the oven to 300 F / 150 C.
- In a small saucepan, melt the butter.
- Once melted, stir in the cocoa powder until no lumps are visible and set aside.
- In a large bowl, mix together all remaining dry ingredients.
- In a medium bowl, mix together all liquid ingredients, including the butter mixture. (Ensure it is no longer hot!)
- Add 1/3 of the liquid mixture to the dry ingredients and mix, repeat until all ingredients are fully combined.
- Bake at 300 F / 150 C for 40 minutes.
- Once cool, frost and enjoy!
Leave a Reply